
Seeing the light: how to photograph glass well
Top quality photographs are essential for presenting glass art at its best, for websites, books, catalogues and exhibition submissions. Glass photographer David Williams shares his step-by-step process for achieving accurate and attractive images of objects made from glass.
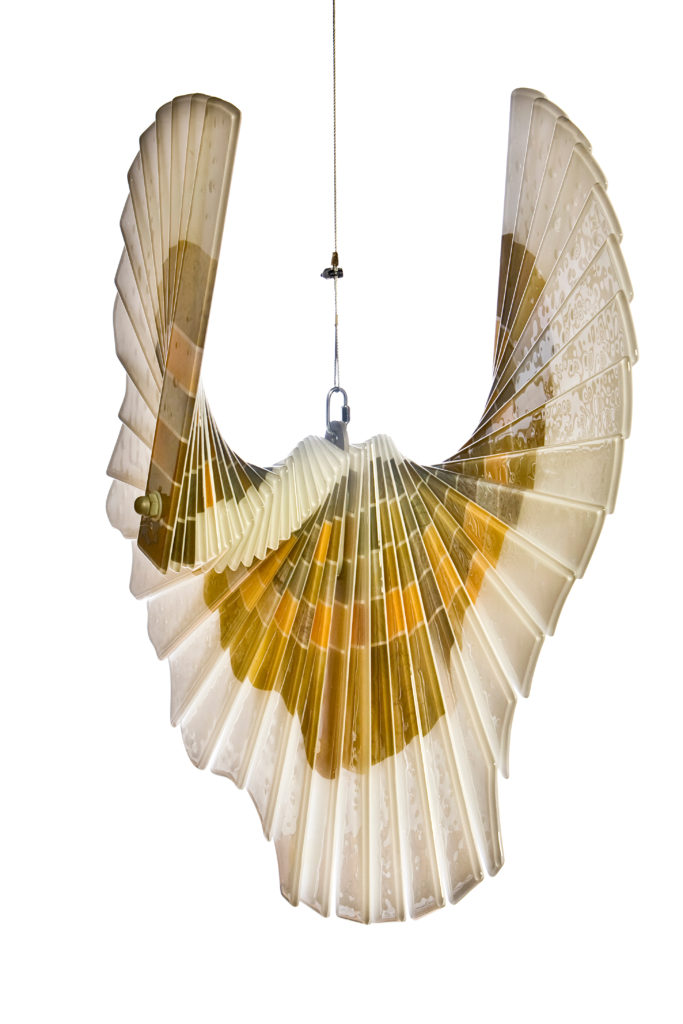
I have been photographing glass for over 30 years and I have to say it is not easy. To photograph glass well is hard.
The different properties of glass present the photographer with problems: it is reflective; it is refractive; it can be transparent or opaque, colourless or rainbow hued.
Controlling the light
It is my job to solve these problems and to represent the glass accurately in an aesthetically-pleasing image. It is my job to take the properties of the glass and enhance, reduce or eliminate these effects. I do this with light – light that I can control.
You can begin to see why your desk lamp, windowsill or LED torch just won’t cut it. Even an on-camera flash has severe limitations. I use studio strobe flash units, which give me a whole range of control over the intensity and quality of light. I like to start in the dark!
Understand the glass artwork
But, before I switch the lights off, I need to know as much about the glass as possible. Talking to the glass maker is always useful. Is there a preferred viewing angle? Is there a particular feature you would like me to accent? Is there a narrative sequence? Which way up does it go? Have you thought about a background?
When it comes to backgrounds, I’m a minimalist. I like black or white. Most glass will photograph well against one or the other, or both. The best black background I have found is black cotton velvet. It has to be cotton. It is very light absorbent and gives deep, rich black backgrounds. I understand the artist and sculptor Anish Kapoor has a non-reflective black paint…but he’s keeping it for himself!
For my white backgrounds, I generally use Colorama Arctic White paper. This comes in rolls of varying widths and lengths.
I often stand the glass on a sheet of black or white acrylic sheet to produce a reflective surface. This can be useful in grounding the subject, so it does not look like it is suspended in flat blackness or whiteness, which can look odd.
Here’s a tip: acrylic sheet comes with a protective film, which must be removed before use. Removing this film charges the acrylic with static and every particle of dust in the room finds it irresistible. Make sure you have an anti-static, soft cleaning cloth as this will save hours of Photoshopping later. Acrylic sheet is extremely prone to scratching, too, so treat it delicately to save hours in post processing.
Clean glass
OK, so we’ve chosen the background, now let’s bring in the glass. STOP and look closely. Really closely. Yes, it is filthy, smeary, dusty and covered in fingerprints. All glass is. When you hit it with light, the high-resolution camera equipment that I use to give you the best possible quality images, shows every speck and smear. Oh the hours I will never get back spent removing dust in post processing!
Clean it. Dust it. Polish it… and then do it again. Use cotton gloves if you have them. This is so important. There is nothing more frustrating than a beautifully-composed and lit piece of glass with a halo of dust that draws your eye.
Start with the lights out
Next, turn the lights off. By starting in a dark room I know that any light falling on the glass has been put there by me and, therefore, I can control it. I have blackout blinds, but drawing your curtains and/or working at night will help.
I turn one strobe unit on and the modelling lamp illuminates the glass, indicating my flash coverage. The glass can now be positioned with respect to the camera and composition desired. It is important that the camera remains in the same position once the composition is established, as I make multiple exposures and tweaks and may need to combine them in post production. You need a good tripod and, when it comes to tripods, you generally get what you pay for.
Find an assistant
Then I decide where my key light will go. At this point it is useful to have an assistant. It is all the better if they are familiar with the equipment. Paul Daniels had Debbie McGee; I have Bruce, who is neither lovely, nor magic, but he does know the gear.
While I sit directly behind the camera, Bruce moves the key light around the glass as I watch how the light interacts: where the shadows fall; what the reflections are doing; where the magic is happening. Even slight changes in height and angle can produce marked effects on the image.
Having established the optimum position for my key light, it is locked off and then decisions are made about the quality of that light. I can diffuse it, or bounce it, softening the shadows; I can light it with a single beam and from above, below, behind and, sometimes, within. I can do all this because I have tools like softboxes, snoots and reflectors, combined with experience, to create controlled and subtle effects.
Then we tweak. A second light? A reflector board to fill a shadow? A flag to remove or soften an edge? Move it left five degrees? Backwards half an inch? Raise the camera slightly to reveal the rim? And so on. This is all done by eye.
Now we are ready to expose. Up to this point I have been in total control. The last thing I want to do now is hand over the decision making to my camera’s very clever, but authoritarian, computer. After all, ‘exposure’ is only the relationship between shutter speed and aperture and I can control them in my camera’s manual mode. I know the strobes synchronise with my camera’s shutter at 1/160 second, so I can set that. My aperture is a little trickier, but crucial to the final image. What you need to know is that aperture controls the depth of field and that determines what is and is not in focus in your final image. A large aperture, say f2.8, will give you a small depth of field and a small aperture, f22, will give you a large depth of field.
Here is a practical example. A stained glass window has a very distracting exterior background. By focusing on the glass and selecting a wide aperture, the background is thrown out of focus, making it less intrusive. You can use a narrow depth of field creatively to draw attention to an object in sharp focus, whilst throwing everything else out of focus. A large depth of field ensures everything is in focus, from front to back of your image.
Taking the shot
My aperture and shutter speed are selected and I press the shutter release. The little unit on top of my camera sends a radio signal to the strobe and POP! the flash(es) go off. The shutter opens and hopefully all that lovingly-crafted and tweaked light hits the camera’s sensor and my image is made. Viewing it on the back of the camera, it looks a little underexposed, so I turn up the power a little on the strobe and that’s it. First image made. Fifty-five minutes to set up and 1/160 of a second to take the picture.
Zoom in on the details
Expose again. Perfect. Nice shadows. All in focus. Looks great. At this point, remember that you are looking at your image on an LCD screen that is, at best, a few inches wide. Save yourself some future grief and really zoom in to the image. This is where you spot that out-of-focus part and the reflection of coffee cups and a jacket hanging on a light stand and you can resolve these problems swiftly.
Some reflected objects are harder to hide. I mask the set with a very large sheet of blackout material. By cutting a strategically-placed hole in the material, you can poke your lens through and remain invisible. Oh, and I always wear black clothes.
At this point I bracket the exposures by deliberately under- and over-exposing by 1/2 and 1 stop. This halves or doubles the amount of light reaching the camera sensor. Most modern cameras have a dial which allows you to do this easily. These extra images may be used in post production. By this point I have a firm idea of the final image; sometimes I’ll under or over expose to achieve a particular effect in post production, or so that I can blend more than one image together.
I explore the piece from different angles, adjusting the lighting and repeating the process for each set up. I finish by taking close-up shots of significant details.
Finding the answers
Every piece of glass throws up different photographic problems which must be solved. The more you do it, the more answers you have and experience helps with new tasks. Most problems can be solved with clamps, boards, masking tape, scissors, coffee and a penknife made for the Swiss Army.
It is an involved business producing pleasing images of glass, but it is important that you do because:
- It is those images that will represent you and your work when you are applying for bursaries and scholarships;
- It is those images upon which decisions are made for acceptance into exhibitions;
- It is the quality of those images which will determine whether they are published in magazines, periodicals and books;
- Good images, shot in a coherent way, can only enhance your website and social media presence.
One day, when you look back on your body of work, you will be glad that all of those long-gone and pivotal pieces were recorded well…And, if I took the photographs, I have them archived too.
The next steps involve Lightroom and Photoshop…but that’s a whole other story. Blimey, the dust!
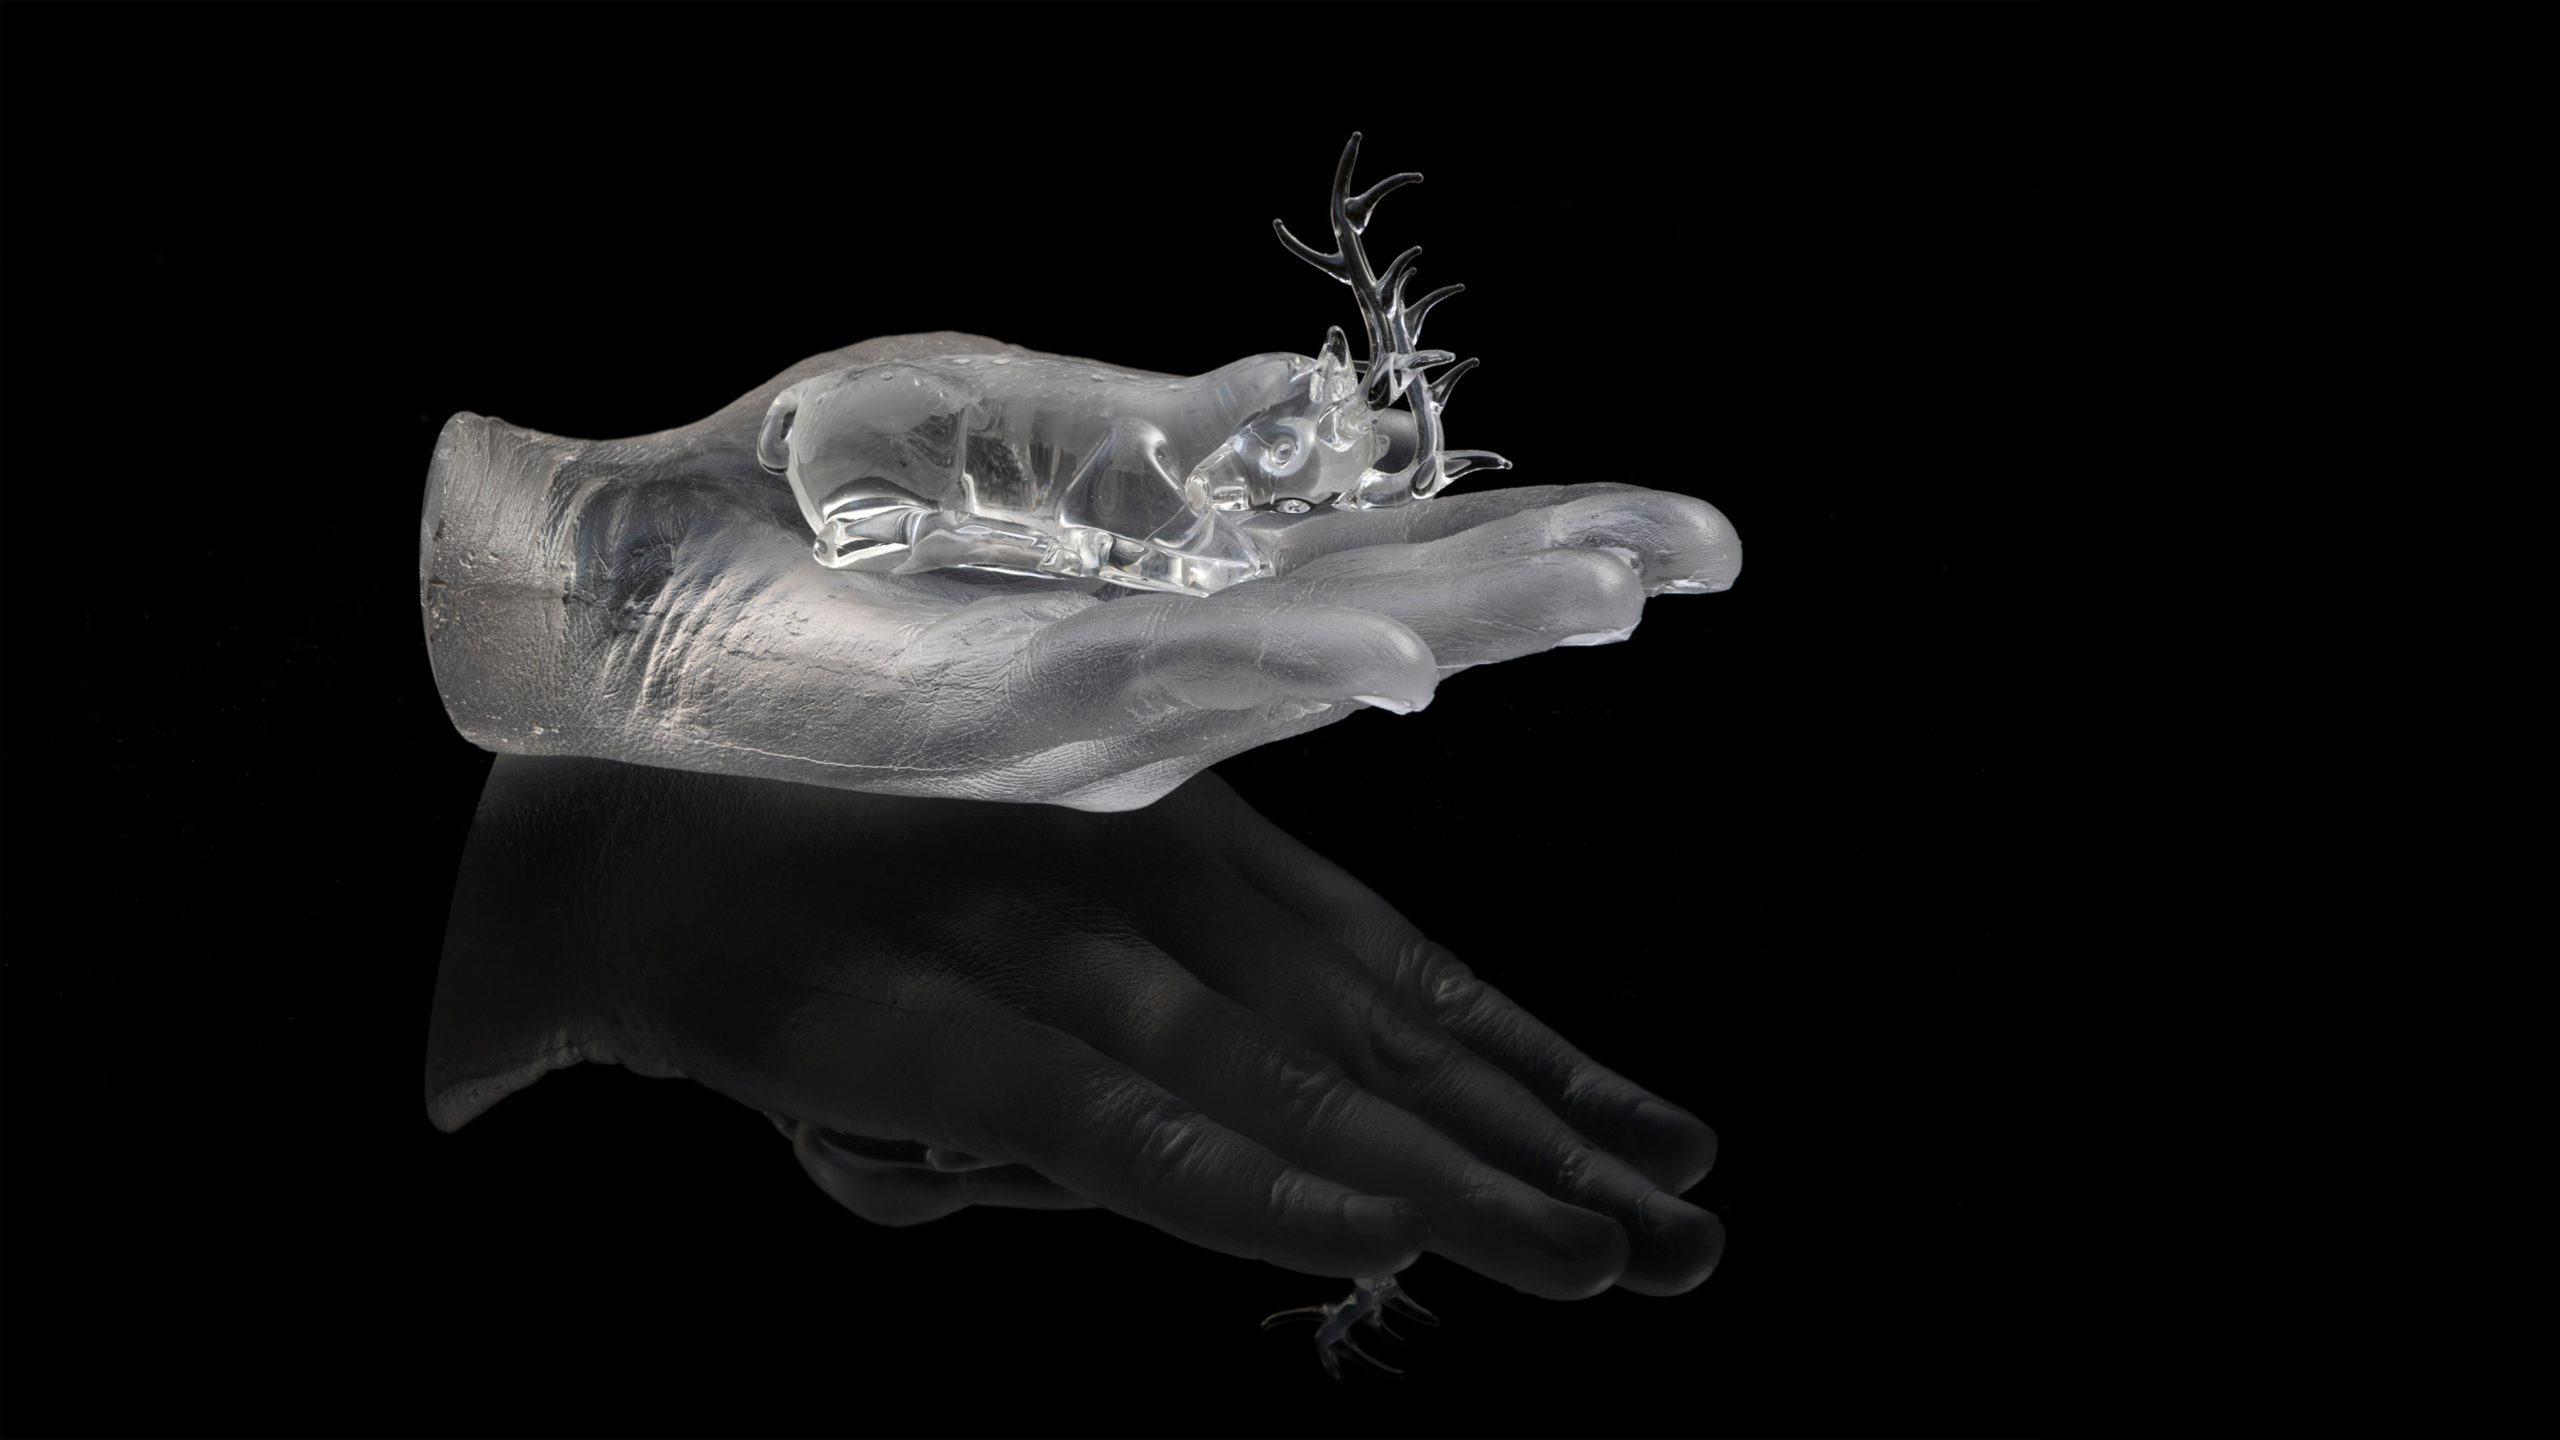
Feature image: ‘Deer’. Artist: Effie Burns; Photographer: David Williams.
About David Williams
After graduating from the University of Durham with a degree in Zoology, David taught Biology briefly, before lecturing in photography for 20 years. During this time he also worked as a freelancer before becoming a full time photographer. As well as photographing the work of artists from all genres, he has wide experience in broadcast television and film, especially environmental and music programmes.
His glass photography is regularly published in books, periodicals and exhibition catalogues. Examples can be seen here: photowilliams.tumblr.com and here: https://imagesofglass.tumblr.com
Related Articles
07-09-2020